How to Read a Vehicle History Report in Canada (Step-by-Step Guide)
How to Read a Vehicle History Report in Canada (Step-by-Step Guide)
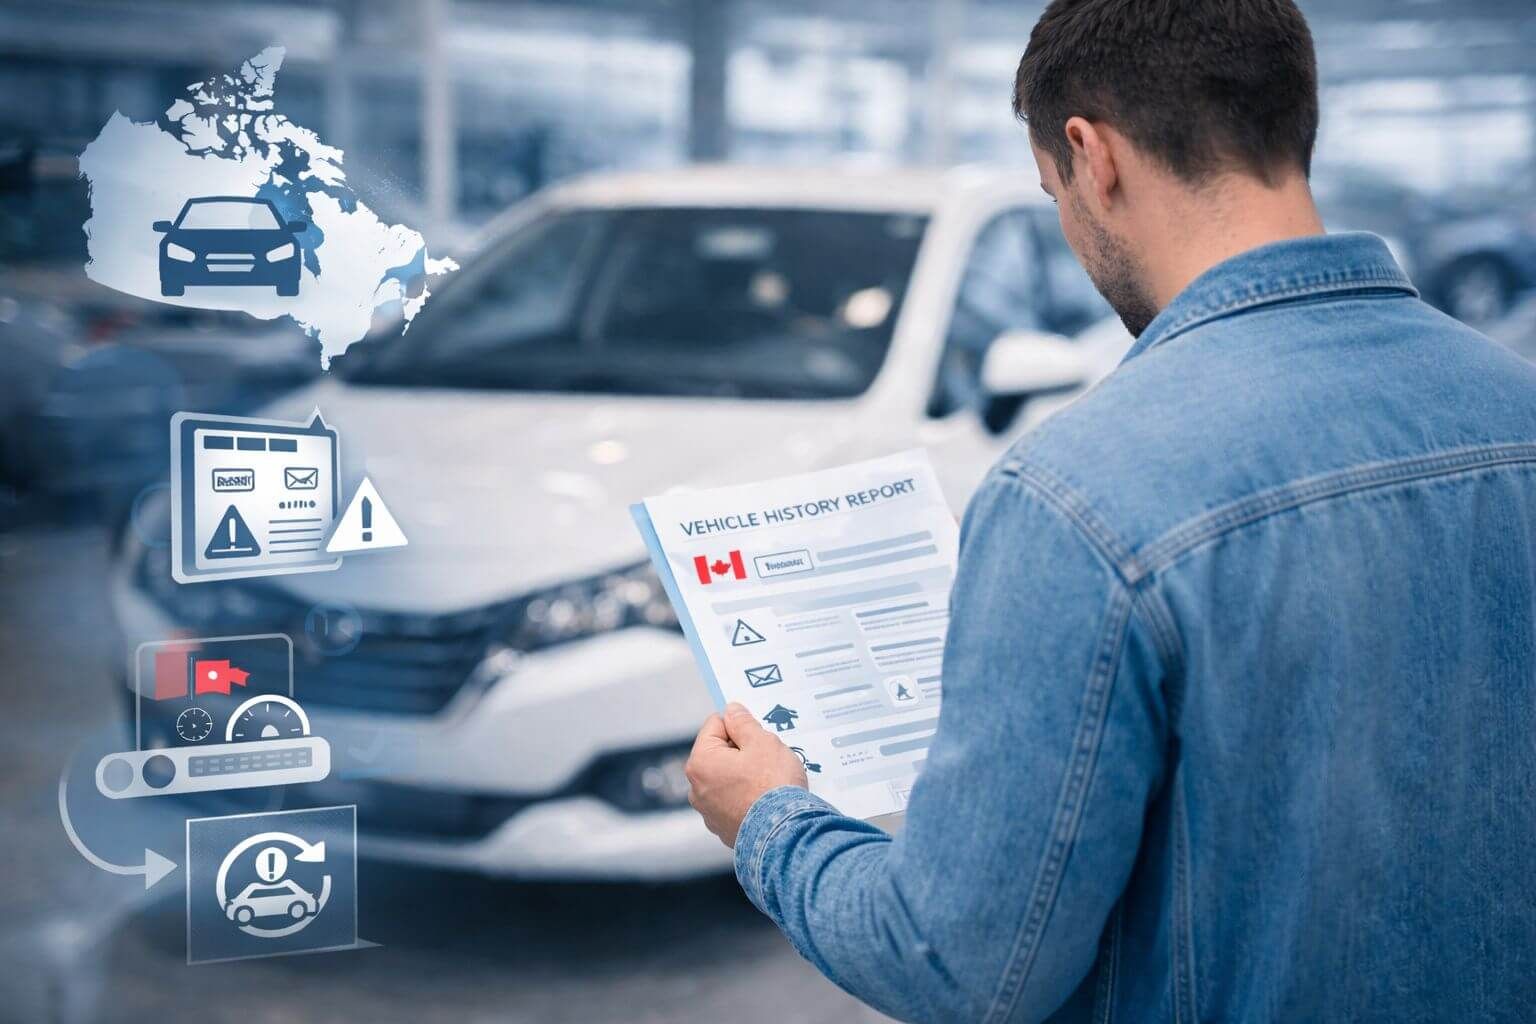
Buying a used car in Canada? A vehicle history report is your single most useful document for spotting hidden problems before you sign. The challenge is knowing how to read it. This step-by-step guide explains the sections that matter most — accident records, ownership changes, mileage flags, and recalls — and shows you how to use the data to make a smart, safe purchase.
What a Vehicle History Report Includes
Canadian reports (often from CARFAX Canada and provincial records) typically include:
- Vehicle identity details (VIN, year, make, model, body style)
- Registration history by province/territory and any branding (salvage, rebuilt, irreparable)
- Accident and damage records (police reports, insurance claims, estimate amounts)
- Ownership history (number of owners, duration of ownership, use type)
- Odometer readings and mileage flags
- Service and maintenance entries (when available)
- Import/export status and jurisdiction moves
- Recall status and manufacturer safety campaigns
- Optional: lien status (often a separate add-on or provincial PPSA search)
Note: Not every event is reported. A clean report is positive but not a guarantee; combine it with a pre-purchase inspection.
Before You Start: Get the Basics Right
- Match the VIN on the report to the windshield plate and door jamb label; they must match the vehicle and each other.
- Confirm the odometer units (kilometres vs miles). Cross-border imports sometimes display miles.
- Check report currency. New incidents can occur after the report date; consider re-running close to purchase.
- Understand data sources. Records may come from insurers, police, provincial registries, dealers, and service shops.
Step 1: Confirm Vehicle Identity and Branding
Begin with the header and summary:
- VIN, year, make, model, trim, and engine details: ensure they align with the car in front of you.
- Registration jurisdictions: list of provinces or territories where the vehicle was registered. Frequent out-of-province moves may warrant closer inspection.
- Branding status: Canadian provinces use branding to flag severe damage history:
- Salvage: vehicle was written off; cannot be driven until repaired and re-inspected.
- Rebuilt: repaired after being branded salvage and passed inspection; insurance can be more expensive.
- Irreparable/Non-repairable: cannot be legally rebuilt for road use.
If you see salvage or rebuilt, budget time for a specialist inspection and a more conservative valuation.
Step 2: Read Accident and Damage Records
This is the heart of the report. Look for:
- Event type and source: police report, insurance claim, estimate, or collision center note.
- Date and location: confirm timeline matches seller’s story.
- Amounts: claims and estimates can suggest severity, but they are not definitive. A $2,000 claim could be cosmetic; a $12,000 claim may involve structure, electronics, or airbags.
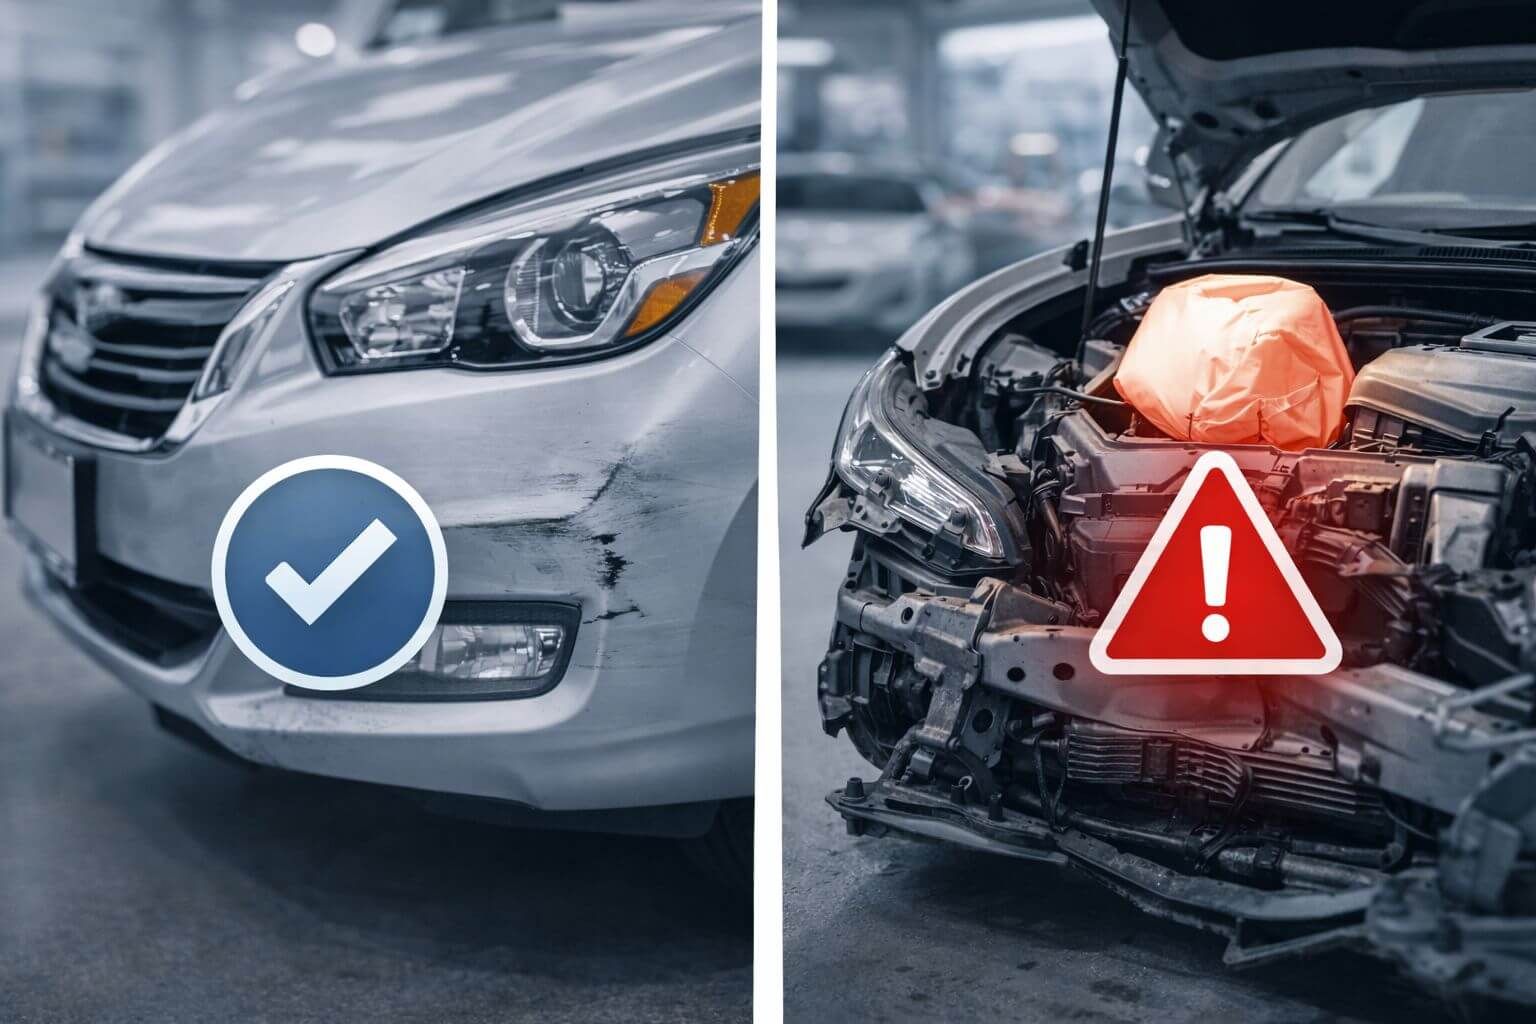
- Damage descriptors: structural damage, frame/unibody impact, airbag deployment, flood, fire, or hail are higher-risk indicators.
- Repeated incidents: multiple front-end claims or repeated damage in short intervals can indicate ongoing issues.
How to interpret:
- Structural or frame damage is a major red flag. Require a frame/structural inspection and alignment check.
- Airbag deployment raises repair complexity; verify that OEM components were used and that systems are operational.
- Flood or fire damage is typically a deal-breaker for most buyers due to long-term reliability risks.
- No accidents found does not guarantee an accident-free car; some incidents are paid out-of-pocket and never recorded.
What to do next:
- Ask for repair invoices and photos; quality documentation is a positive sign.
- Get a pre-purchase inspection (PPI) with a lift, frame measurements, and a paint thickness scan.
- Adjust price expectations. Accident history usually reduces value; the extent and quality of repairs matter.
Step 3: Review Ownership History and Use Type
Ownership history shows how many owners the vehicle had, the length of each ownership, and the use classification:
- Personal: typical consumer use.
- Commercial/fleet: corporate vehicles; maintenance may be regular, but wear can be higher.
- Rental: frequent drivers and varied usage; service is often standardized but driving styles vary.
- Taxi/rideshare: heavy stop-and-go use; check for interior wear and mechanical fatigue.
What to watch for:
- Rapid turnover (short ownership periods) may signal unresolved problems.
- Long-term single-owner vehicles with consistent maintenance are generally positive.
- Out-of-province transfers can be benign (relocation) or a way to re-register a problem vehicle; scrutinize closely.
Step 4: Validate Mileage and Odometer Consistency
Mileage should rise steadily over time. Review all odometer entries from services, inspections, emissions tests, and auctions.
Common flags:
- Odometer rollback or not actual mileage: serious concerns; proceed only with strong supporting documentation.
- Inconsistent readings: sudden drops or large unexplained jumps warrant investigation.
- Unit confusion: imported vehicles may display miles while reports list kilometres (1 mile ≈ 1.609 km). Ensure conversions are logical.
How to verify:
- Compare mileage to service invoices, oil-change stickers, and inspection records.
- Check wear items (pedals, driver seat bolsters, steering wheel) for consistency with displayed mileage.
- Ask a technician to scan for stored mileage in control modules when applicable.
Step 5: Check Recalls and Safety Campaigns
Recall status indicates whether the manufacturer has identified safety defects that need repair.
- Open recalls: repairs are performed for free by authorized dealers. Schedule these promptly.
- Closed recalls: previously fixed; verify with dealer records if you want confirmation.
- Service bulletins (TSBs): not recalls; they provide guidance for known issues but may not be free.
How to confirm:
- Use the Transport Canada Motor Vehicle Safety Recalls Database with the VIN.
- Check the manufacturer’s website or call a local dealer with the VIN for the latest status.
Step 6: Scan Service History and Condition Clues
Service entries provide valuable context:
- Regular oil changes and scheduled maintenance suggest diligent ownership.
- Long gaps or repeated warnings (engine light, overheating) merit closer inspection.
- Look for timing belt replacements (if applicable), transmission services, brake and tire records, and coolant changes.
- Aftermarket modifications (tunes, suspension, exhaust) can affect reliability and insurance.
Step 7: Liens and Money Owed (Don’t Skip This)
A lien means money is still owed on the vehicle. In Canada, lien data may not be included by default.
- Order a lien search (e.g., CARFAX Canada add-on) or check provincial PPSA/RSLA systems.
- Obtain a lien release letter from the lender before paying the seller.
How to Weigh What You’ve Learned
- One-owner, no branding, minor cosmetic repair, consistent maintenance: generally strong.
- Multi-owner with structural damage and mileage inconsistencies: high risk.
- Rebuilt vehicles: can be fine if repairs were done to a high standard, but resale and insurance can be more complex.
Quick Red-Flag Checklist
- Structural damage, airbag deployment, flood/fire
- Repeated or high-dollar claims without documentation
- Odometer rollback, not actual mileage, inconsistent readings
- Frequent province changes with short ownership periods
- Open recalls not yet addressed
- Missing service history on a higher-mileage vehicle
- Active liens without a clear release path
Questions to Ask the Seller
- Can you provide repair invoices, photos, and parts lists for any accidents?
- Do you have service records that match the mileage timeline?
- Has every open recall been completed? Can we verify with a dealer?
- Are there any liens? Can you provide a lien release letter?
- Will you allow a pre-purchase inspection at an independent shop?
Final Tips and Next Steps
- Always pair the report with a thorough PPI by a trusted technician.
- Confirm recall status directly with a franchised dealer and schedule any open repairs.
- Keep a copy of the report, invoices, and the PPI for your records. They support future resale value.
- If the story and the paperwork do not align, be ready to walk away. Another good car will appear.
A vehicle history report does not replace an inspection, but it does tell a story. When you read it carefully — focusing on accident records, ownership changes, mileage consistency, and recalls — you dramatically reduce your risk and increase your chances of landing a reliable, fairly priced vehicle.