How to Check an RV or Camper VIN Before Buying
How to Check an RV or Camper VIN Before Buying
Buying a used RV or camper can be a major investment, and problems hidden beneath the surface can be expensive to fix. Because RVs combine a vehicle chassis with a living structure, verification is more complex than with cars or trailers.
This guide explains how to check an RV or camper VIN before buying, what information the VIN can reveal, and how VIN verification helps reduce risk in Canada.
Why VIN Checks Matter for RVs and Campers
RVs and campers often change hands through private sales and may travel across provinces. Without proper checks, buyers risk:
- Purchasing an RV with incorrect model year or chassis claims
- Buying a unit with unresolved recalls or safety issues
- Encountering registration or insurance problems
- Overpaying for an RV with hidden history concerns
The Vehicle Identification Number (VIN) provides a reliable starting point for verification.
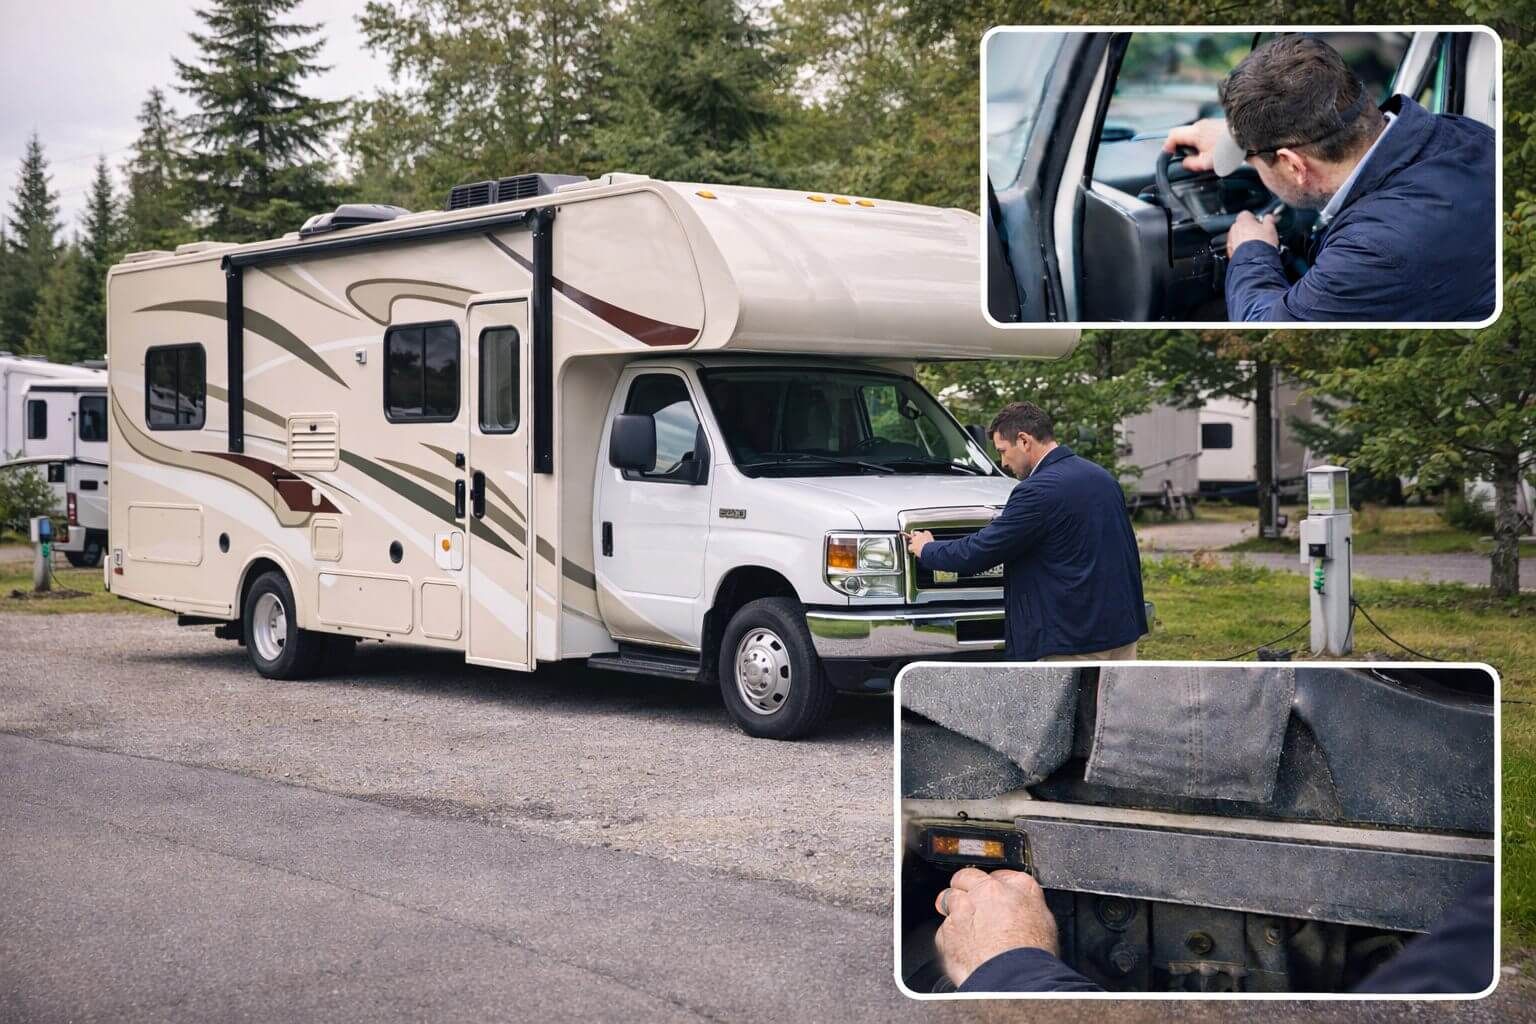
Step 1: Locate the VIN on the RV or Camper
VIN placement on RVs varies depending on the chassis and manufacturer. Common locations include:
- On the dashboard near the windshield (for motorhomes)
- Inside the driver-side door frame
- On the chassis frame rail
- On manufacturer data plates inside the living area
Some RVs may have multiple identification numbers—one for the chassis and one for the coach.
Step 2: Confirm Which VIN Applies
Motorhomes often have:
- A chassis VIN (engine, drivetrain, safety systems)
- A coach or body serial number (living area)
For verification and registration purposes, the chassis VIN is typically the primary identifier. Make sure the VIN you check matches registration documents.
Step 3: Run an RV-Specific VIN Check
Once you’ve identified the correct VIN, use it to verify the RV’s details. Running an RV VIN check helps confirm whether the VIN is valid and whether the RV aligns with the seller’s claims.
VIN verification is especially important when sellers advertise:
- A specific model year or trim
- Low mileage relative to age
- Factory-installed features or upgrades
Step 4: Verify Chassis Information and Specs
An RV VIN can help confirm:
- Chassis manufacturer
- Engine type and drivetrain
- Model year of the underlying vehicle
This matters because maintenance, parts, and recalls often depend on the chassis—not just the coach.
Step 5: Watch for Common RV VIN Red Flags
Be cautious if you encounter:
- VINs that don’t match registration or insurance documents
- Missing or altered VIN plates
- Conflicting claims about model year or chassis
These issues can signal misrepresentation or legal complications.
RV VIN Checks vs Physical Inspection
| VIN Check Helps With | Physical Inspection Helps With |
|---|---|
| Verifying chassis details | Checking water damage |
| Confirming model year | Assessing roof and seals |
| Screening for invalid VINs | Evaluating appliances |
Both steps are critical when buying an RV.
Final Thoughts
Knowing how to check an RV or camper VIN before buying helps buyers verify key details and avoid costly surprises. Because RVs combine multiple systems, VIN verification provides essential clarity before deeper inspections.
Before purchasing a used RV or camper, locate the correct VIN, verify it carefully, and use an RV-specific VIN check to confirm the vehicle’s identity. Proper verification upfront can save significant time and expense later.